
In this article
A vinyl banner rarely fails in the middle of the print. It almost always tears at a grommet because the next eyelet is too far away—forcing one metal ring to absorb the full wind load and banner weight. Getting your banner grommet spacing right distributes tension evenly across the entire perimeter hem.
1. The Short Answer: Corners Plus One Every 24 Inches
Placing a grommet in each of the four corners and spacing additional grommets every 24 inches (2 feet) along the edges is the industry gold standard and SignCrisp’s default production layout. If your installation requires custom eyelet intervals—such as 18-inch heavy-wind spacing or 36-inch indoor spacing—our prepress team confirms your exact layout on the digital proof before printing.
- Standard outdoor & indoor default: 4 corners plus 1 grommet every 24 inches along the top, bottom, and sides.
- Windy or exposed outdoor sites: Stay at 24 inches (or tighten to 18 inches) along all four edges so shorter spans share the wind load.
- Sheltered indoor walls only: 36-inch spacing can work for lightweight banners mounted flat against an interior wall.
2. Grommet Spacing by Banner Size
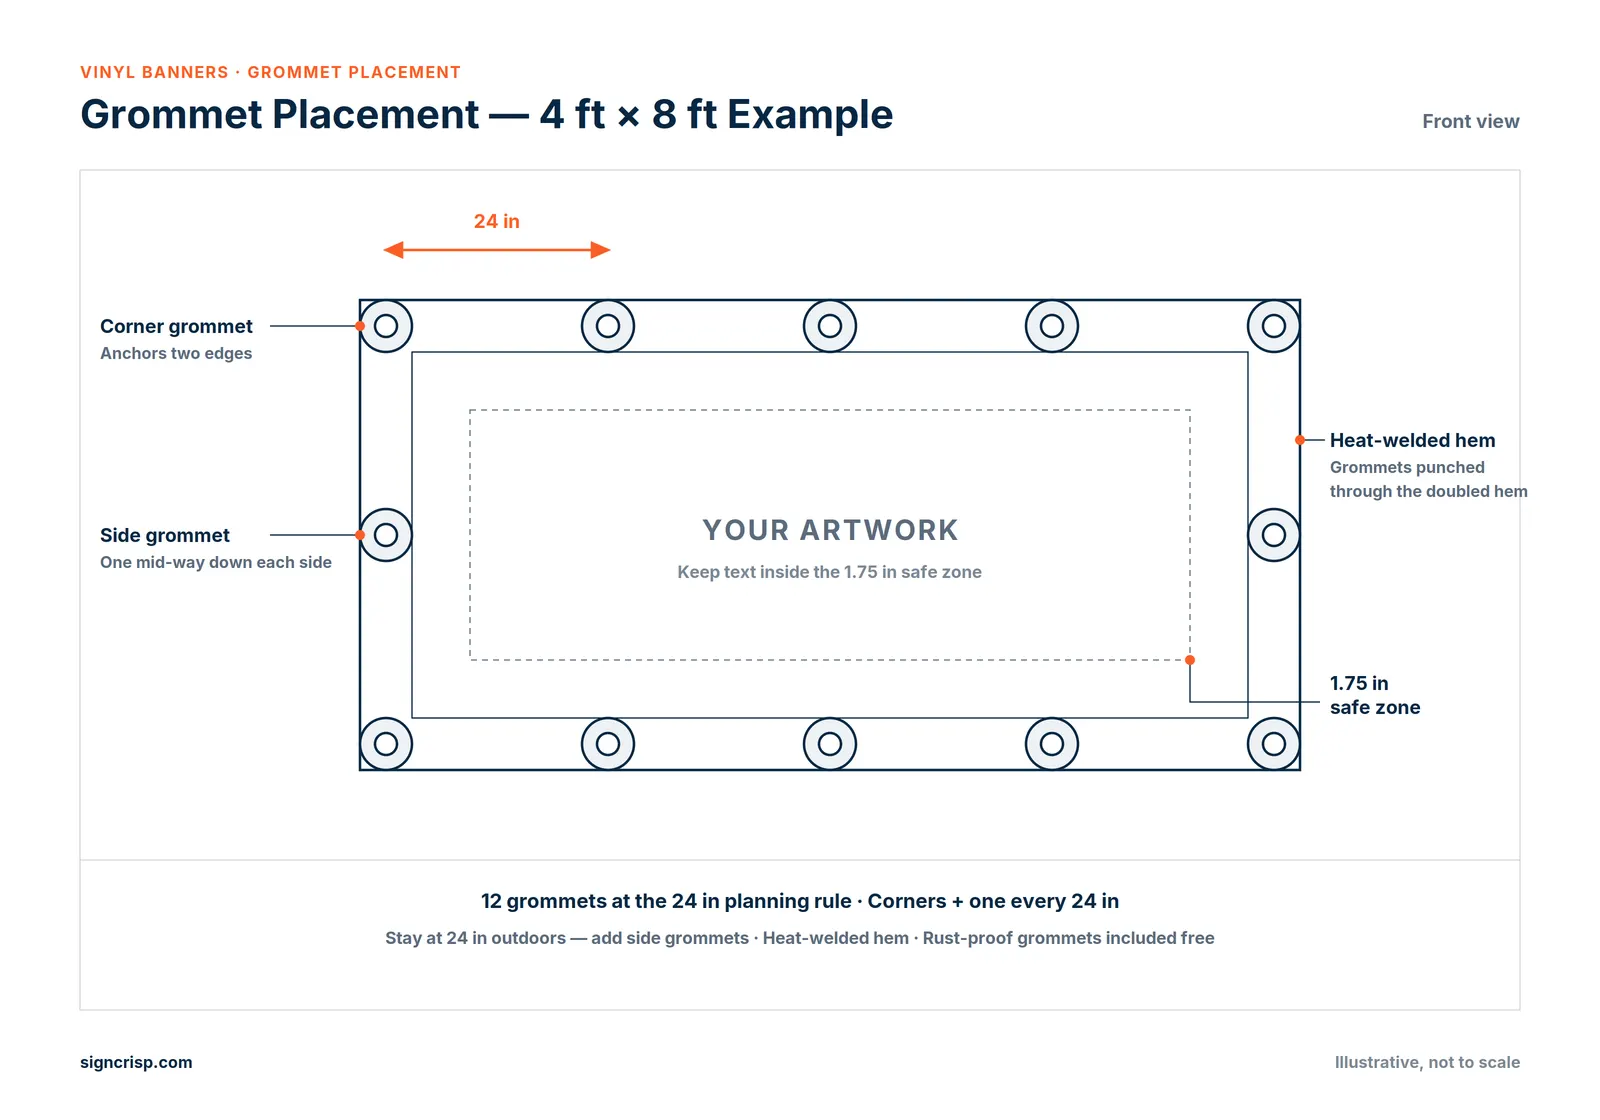
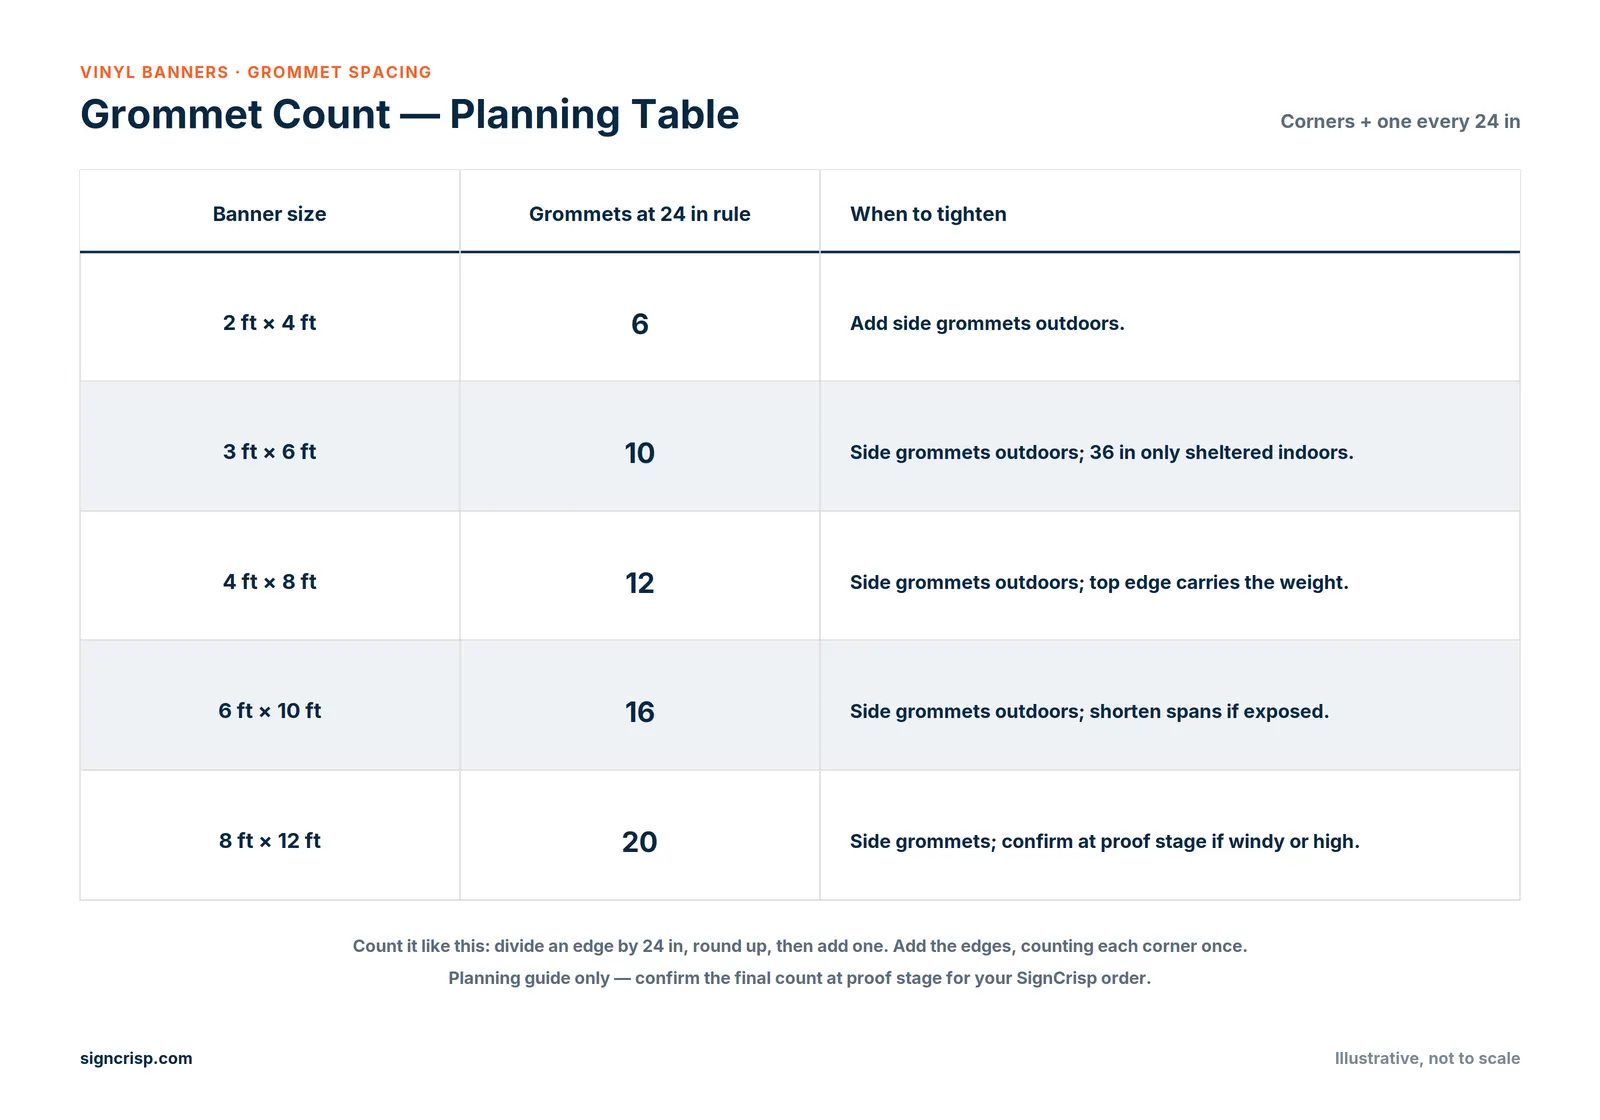
To calculate standard grommet counts using the 24-inch rule: divide each edge length by 24 inches, round up, and add 1 (counting each corner once). For a standard 4 × 8 ft banner, that puts 5 grommets along the top, 5 along the bottom, and 1 mid-way down each 4 ft side—for a total of 12 grommets.
The reference table below shows standard grommet counts calculated using the 24-inch spacing rule across all four edges. Your exact grommet positions are confirmed on your pre-production digital proof:
| Banner Size | Standard Grommet Count (24″ Rule) | Top & Bottom Edges | Left & Right Sides (Excl. Corners) | Installation Recommendation |
|---|---|---|---|---|
| 2′ × 4′ | 6 | 3 top + 3 bottom | 0 | Standard perimeter holds well indoors and outdoors |
| 3′ × 6′ | 10 | 4 top + 4 bottom | 1 left + 1 right | Tie all side grommets outdoors to prevent curling |
| 4′ × 8′ | 12 | 5 top + 5 bottom | 1 left + 1 right | Most popular outdoor size; secure all 12 points |
| 6′ × 10′ | 16 | 6 top + 6 bottom | 2 left + 2 right | Use bungee cords or rope on fences; avoid corner-only ties |
| 8′ × 12′ | 20 | 7 top + 7 bottom | 3 left + 3 right | Consider 18oz heavy-duty vinyl or mesh for wind exposure |
SignCrisp prints seamless vinyl banners from 2′ × 2′ up to 9′ × 30′ (and oversized welded banners beyond). Let us know how your banner will be hung so our engineers can tailor the eyelet spacing on your proof.
3. Where Grommets Go: Corners, Edges, and the 1.75″ Safe Zone
Grommets are punched through the reinforced perimeter hem just inside the outer edge. To prevent a metal eyelet from punching through a headline, phone number, or QR code, follow the SignCrisp safe-margin rule: keep all important text, logos, and graphics at least 1.75 inches (4.4 cm) inside the finished trim edge on all four sides.
- Anchor the four corners first: Corner grommets carry bidirectional tension and stop the corners from dog-earing in the wind.
- Space evenly every 24 inches: Consistent intervals prevent slack pockets where wind can catch and whip the vinyl.
- Protect the 1.75″ safe zone: Extend background colors all the way to the trim/bleed edge, but keep readable elements well clear of the 1.75-inch perimeter border.
4. Wind and Mounting: What Fails First
Wind rarely rips the center of a 13oz or 18oz vinyl banner; it tears at an overloaded fixing point when a banner is tied only by its four corners.
- Always tie the side and middle grommets: Leaving intermediate grommets unfastened puts 100% of the wind load onto the four corners.
- Use rope or bungee cords instead of rigid screws: Bungees and nylon rope allow slight shock absorption during gusts, whereas rigid screws or over-tightened zip ties concentrate tear stress on the eyelet.
- Keep the banner taut, not drum-tight: Eliminating slack prevents violent flapping, while avoiding over-tension protects the hem welds.
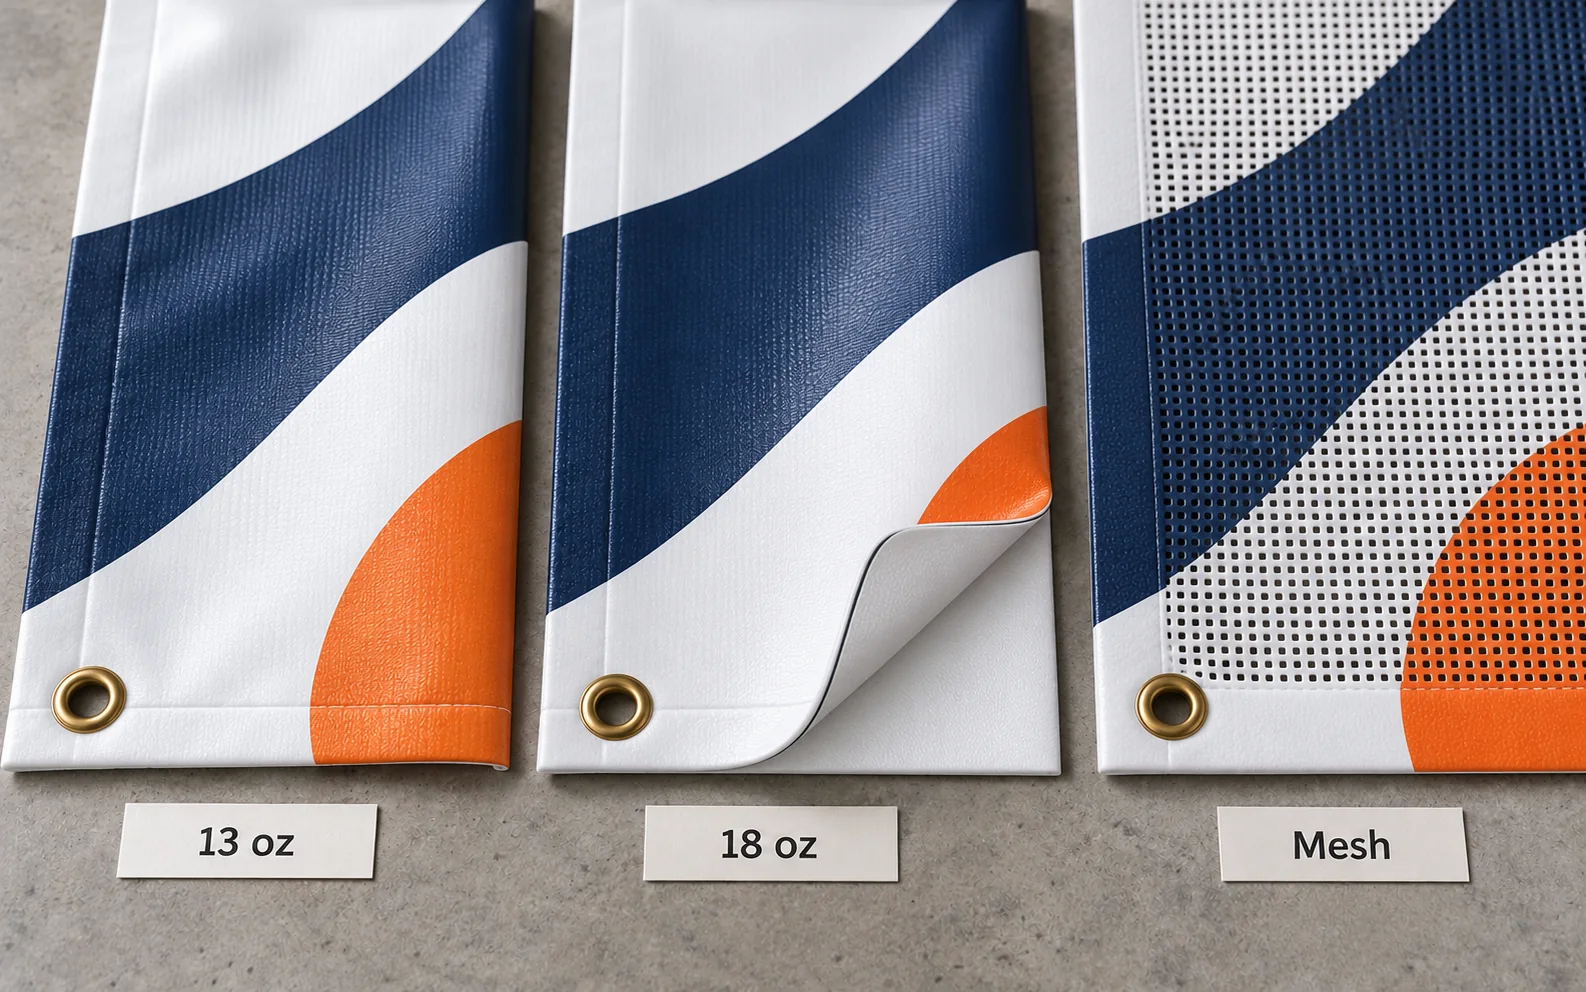
- Choose the right material for wind: Solid vinyl acts like a sail in open wind. For chain-link fences or high scaffolding, see our 13oz vs. 18oz Vinyl vs. Mesh Banners Guide.
5. Hem Finishing: Heat-Welded vs. Sewn Hems
A grommet punched through a single layer of vinyl will pull out under load. SignCrisp reinforces every vinyl banner with heat-welded hems, folding the perimeter over and fusing it thermally into a double-thick border before punching rust-proof metal grommets through the reinforced layer.
Discover products
 Custom Vinyl BannersCustomize
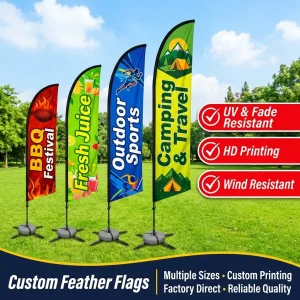 Custom Feather FlagsCustomize
 Custom Rectangle Flag with Pole & Water Base – 23.6" × 63"Customize
 Custom Retractable Banner Stand – Silver Aluminum Roll-UpCustomize
| Feature | Heat-Welded Hem (SignCrisp Standard) | Sewn (Stitched) Hem |
|---|---|---|
| How it is made | Folded vinyl edge thermally fused into a seamless bond | Folded edge stitched with industrial thread |
| Best application | 13oz & 18oz PVC vinyl banners | Fabric banners, mesh, and specialty textiles |
| Weather resistance | Waterproof bond; no thread to rot or fray outdoors | Thread can wear over extended UV/weather exposure |
6. How to Specify Grommets on Your SignCrisp Order
When sending your inquiry or uploading artwork, share five quick details so we can map your grommets on the proof:
- Finished size (width × height in feet or inches).
- Environment (indoor wall vs. outdoor fence, building facade, or between posts).
- Fastening method (bungee cords, rope, zip ties, or wall anchors).
- Finishing preference (standard 24″ grommets, custom spacing, or top/bottom pole pockets).
- Quantity and material (13oz standard matte vinyl or 18oz heavy-duty blockout vinyl).
SignCrisp custom vinyl banners are UV-printed in full CMYK on NFPA 701 fire-rated 13oz or 18oz (1000 × 1000 denier) vinyl, complete with heat-welded hems and free rust-proof grommets. Standard production runs 4–7 business days (24–48 hours for samples and small runs), with DDP delivery in 7–12 business days.
7. FAQ
How far apart should banner grommets be?
Place one grommet in each corner and space additional grommets every 24 inches (2 feet) along all edges. Use 36-inch spacing only for sheltered indoor walls, and tighten to 18–24 inches for windy outdoor installations.
How many grommets does a 3 × 6 ft banner need?
Following the 24-inch rule across all four edges, a 3 × 6 ft banner uses 10 grommets: 4 corners, 2 intermediate grommets along the 6 ft top edge, 2 along the 6 ft bottom edge, and 1 mid-way down each 3 ft side.
Can grommets go through printed text?
Background colors and photos should extend to the edge, but text, logos, and QR codes must stay at least 1.75 inches (4.4 cm) inside the trim edge so they are never covered by the folded hem or pierced by a grommet.
What if my banner hangs in high wind?
Fasten every grommet along all four sides using bungee cords or rope rather than tying only the corners, and upgrade to 18oz heavy-duty vinyl or wind-permeable mesh vinyl for exposed fences.
8. Get Your Banner Ready to Hang
Printing a big one? See our large format custom banners with hems and grommets included.
Email your banner size, mounting plan, and artwork to hello@signcrisp.com, message us on WhatsApp at +852 6995 1502, or order directly through our Custom Vinyl Banners and Contact pages. Our engineering team reviews files within 12 hours and provides a clear digital proof before production.